User guide Setting up and managing cohorts
Introduction
Mavis is designed to be used with complete age-based cohorts, including those already vaccinated in previous academic years.
Before using Mavis for vaccination programmes, SAIS teams will need to:
- import full details of the cohort in the team’s area
- upload relevant historic vaccination records for all children in the cohort
We explain how to do this below.
Creating the initial cohort lists (all year 8 to 11s)
You should upload cohort records before you upload vaccination records or class lists.
The cohort should include all children in your SAIS team’s area, as follows:
- all children in the target year for the vaccination programme (Year 8 for HPV, Year 9 for MenACWY and Td/IPV)
- all children in older year groups, up to Year 11, whether they have already been vaccinated or not
You’ll only need to upload the older year groups the first time you use Mavis. Once the cohort has been set up and used to record vaccinations for a particular year group, those records will stay in Mavis.
Uploading cohort records
To upload cohort records, use the following template:
Make sure the cohort records are in the format shown in the template above. Files need to be in .csv format. Records can be all in one file, or split across multiple files; Mavis is not picky about this. If you have an excel file with multiple tabs, you will need to consolidate this into a single tab or create a separate CSV file for each tab.
- Go to the Import tab.
- Click on the Import records button near the top of the page.
- Select Child records, then click Continue.
- Click on Choose File, then select the CSV file you want to import.
- Click Continue. If there are any validation issues, Mavis will not import the file. Correct the issues listed in the file and try again.
- Wait for the file to finish importing.
Once the file has finished importing, there may be some import issues which you need to review before doing anything else.
Resolving issues importing a cohort list
Mavis will highlight any potential duplicates found in the uploaded file and compared with what was already in Mavis as an import issue.
Go to the Import tab. Under Import issues, for each record:
- Select Review.
- Select which version of the record you want to keep and select Resolve duplicate.
If there are some parts of each that are correct, you can note down any correct information from the version you choose to discard, discard it, then go to the child record and manually edit the information there (this feature will be more developed in a future release of Mavis).
Importing historic vaccination records (years 9, 10 and 11)
You should upload relevant historic vaccination records before scheduling school sessions. This is so you can make sure that only unvaccinated children are added to a session. (But don’t worry, if you identify that someone is already vaccinated at a later date, you can remove them from the session).
You should also include vaccination records for anyone in the cohort who was vaccinated elsewhere, if you have them. These records will be stored in Mavis and will not be sent anywhere else.
How to import historic vaccination records
Use the following template to upload historic vaccination records. You should upload all vaccination records from the last 3 years.
You should upload historic vaccination records before scheduling school sessions, to ensure that only unvaccinated children are added to a session. (But don’t worry, if you identify that someone is already vaccinated at a later date, you can remove them from the session).
Vaccination record files need to be in .csv format. Records can be all in one file, or split across multiple files; Mavis is not picky about this. If you have an Excel file with multiple tabs, you will need to consolidate this into a single tab or create a separate CSV file for each tab.
For each of your vaccination record CSV files:
- Go to the Import tab.
- Click on the Import records button near the top of the page.
- Select Vaccination records, then click Continue.
- Click on Choose File, then select the CSV file you want to import.
- Click Continue. If there are any validation issues, Mavis will not import the file. Correct the issues listed in the file and try again.
- Wait for the file to finish importing
Once the file has finished importing, there may be some import issues which you need to review before doing anything else.
Resolving issues importing historic vaccination records
Mavis will highlight any potential duplicates found in the uploaded file and compared with what was already in Mavis as an import issue.
Go to the Import tab. For each record under Import issues:
- Select Review.
- Select which version of the record you want to keep and select resolve duplicate.
If there are some parts of each that are correct, you can note down any correct information from the version you choose to discard, discard it, then go to the child’s record and manually edit the information there (this feature will be more developed in a future release of Mavis).
Manually recording a child as ‘already vaccinated’
If a child’s historic vaccination record is missing from CHIS data, or you have not been able to upload their historic vaccination record into Mavis, you can manually record the child as ‘already vaccinated’ for a specific programme. You can only do this once sessions have been scheduled (setting up sessions is covered in the ‘Sessions’ section of this user guide).
- From Sessions, select a session that is not currently in progress.
- Search for the child under the Consent or Session outcomes tab - then click on the child’s name to open the child record.
- Select the relevant tab for the vaccination programme you want to record.
- Click on the Record as already vaccinated link near the top of the page.
- Check the details on the page and add a note to explain this was a historic vaccination - then click the Confirm button.
You can only carry out this action for sessions that are not in progress.
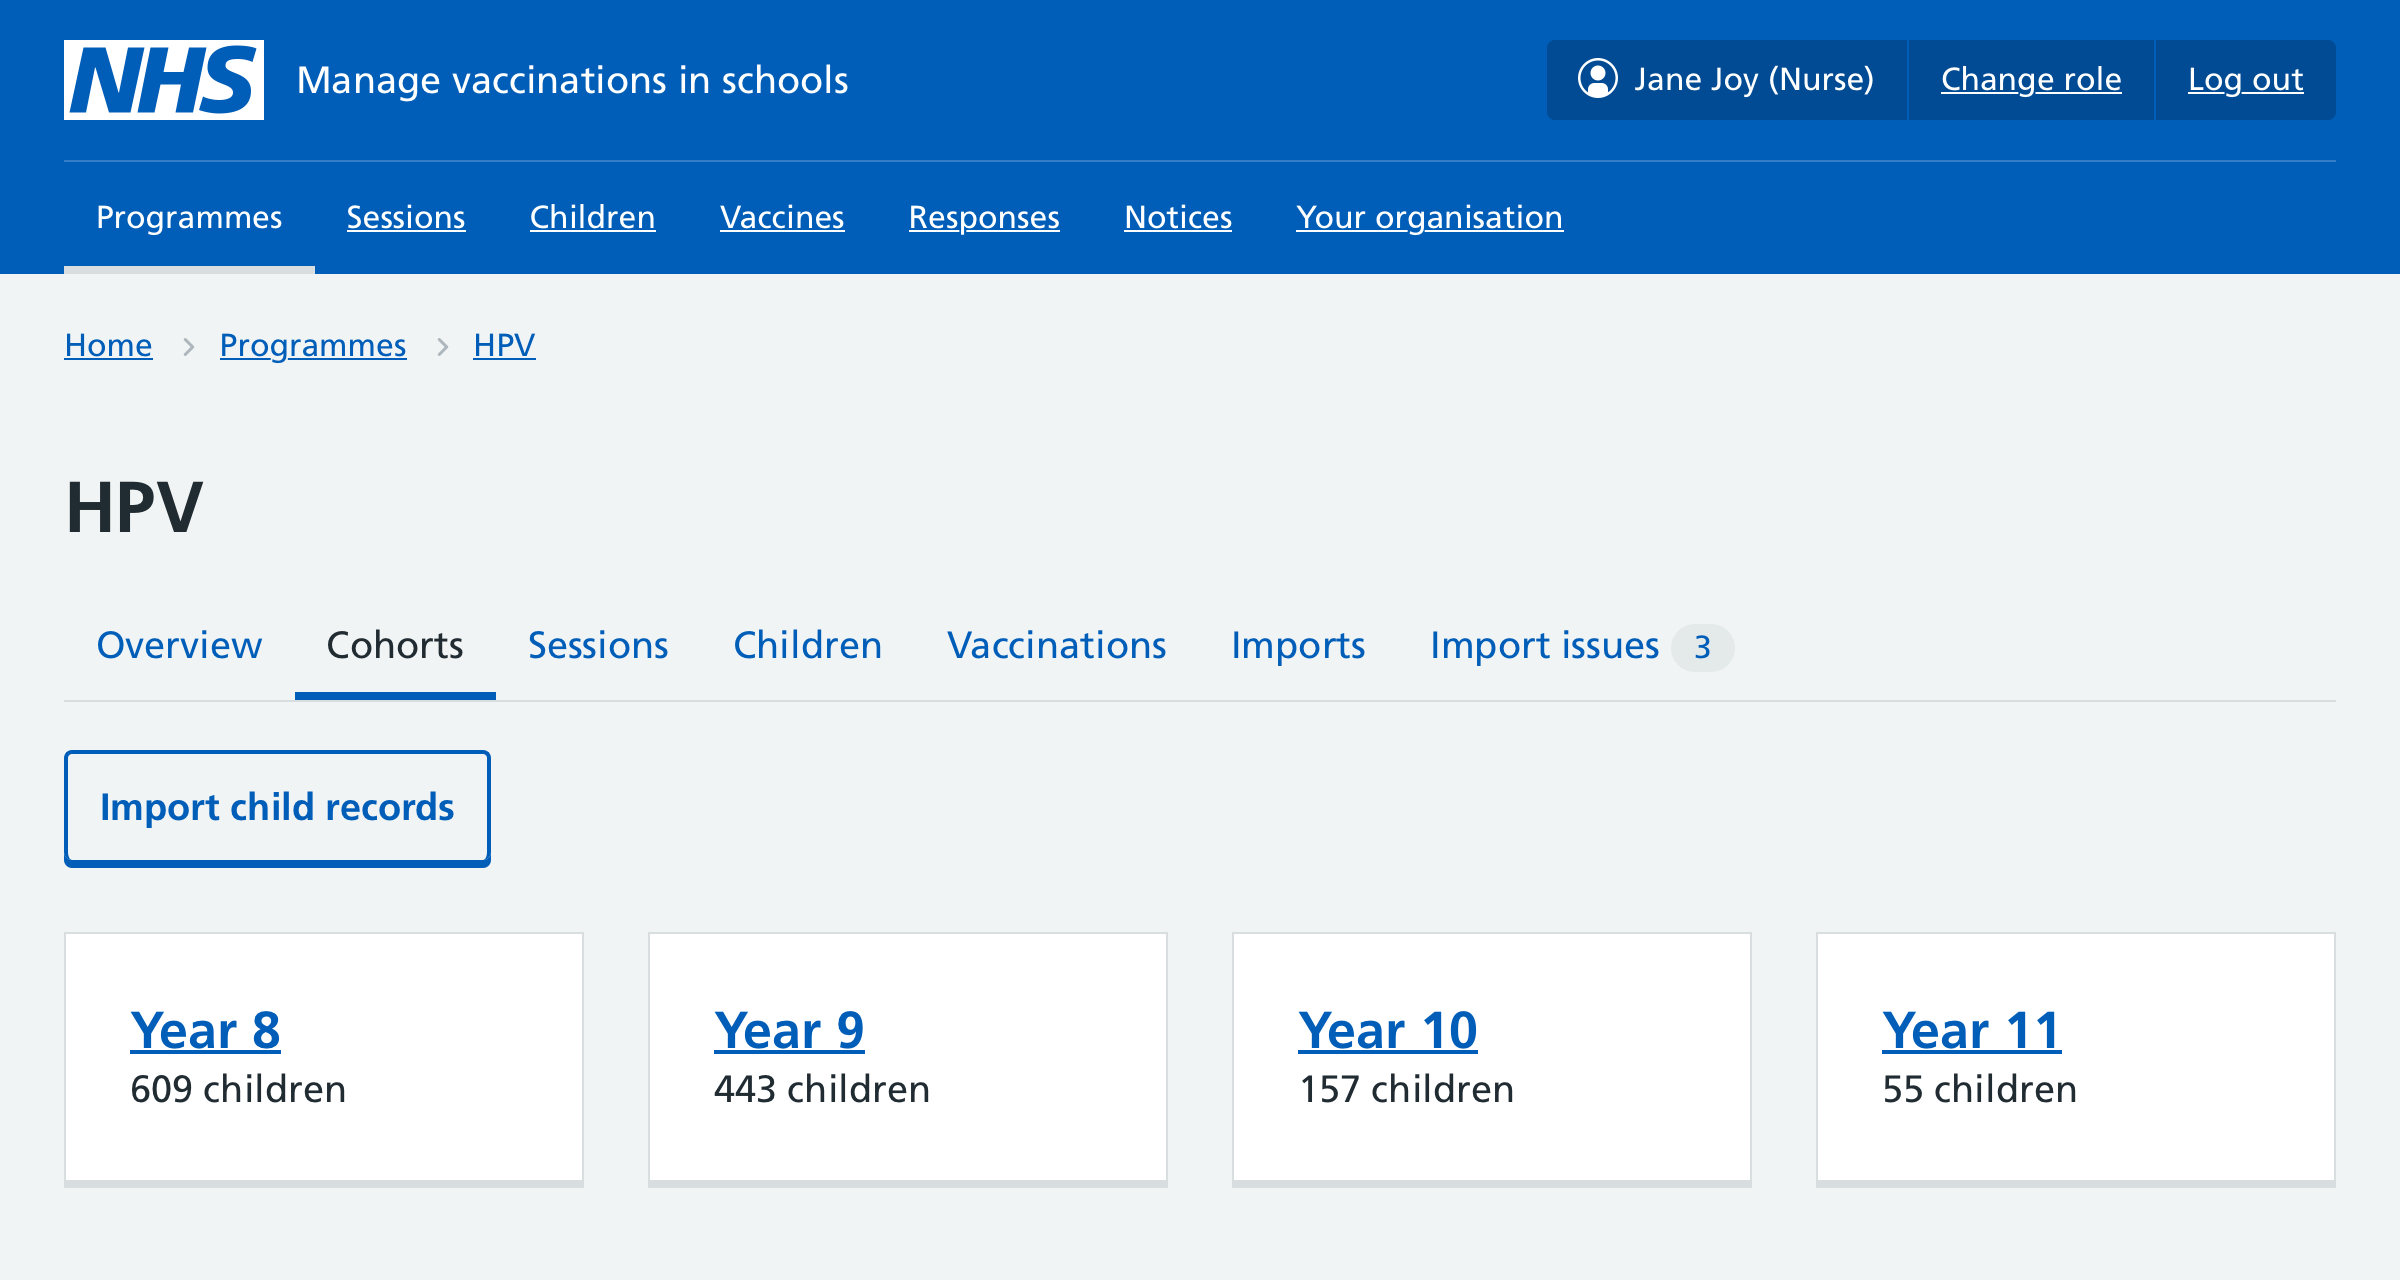
Checking cohorts and what to do next
Once you have uploaded all the cohort files, you can go to the Cohorts tab and check the counts for each year group are as expected.
You can also check individual children’s records by navigating to the Children tab. However, you won’t be able to see the children listed under their school in the sessions tab until you have scheduled at least one session at that school.
Once you have confirmed that the cohort is successfully uploaded, you can proceed to:
Handling out-of-year-group children
When children are taught outside their chronological year group, you need to record this in either the cohort upload or class list upload. If you do not do this, the child won’t be added to the correct cohort.
For example, for a child who would be educated in year 7 according to their birth date, but is in year 8 at school, you need to specify a value of 8 in the CHILD_YEAR_GROUP field in either the cohort upload file or class list upload file.
Manually editing individual child records
- Go to Children.
- Search for the child by name and select their record.
- Select Edit child record.
- Find the information you want to edit and select Change.
- Edit the information and select Continue.
- Select Save changes.