Adding and editing sessions
You can create sessions in Mavis for any of the programmes you’re running. You can edit the session details later, if you need to.
You should only schedule sessions after you’ve uploaded vaccination records and class lists.
Creating sessions
- From the dashboard, go to Schools.
- Find the school you want to create a session for and select it to open its record.
- Select the Sessions tab.
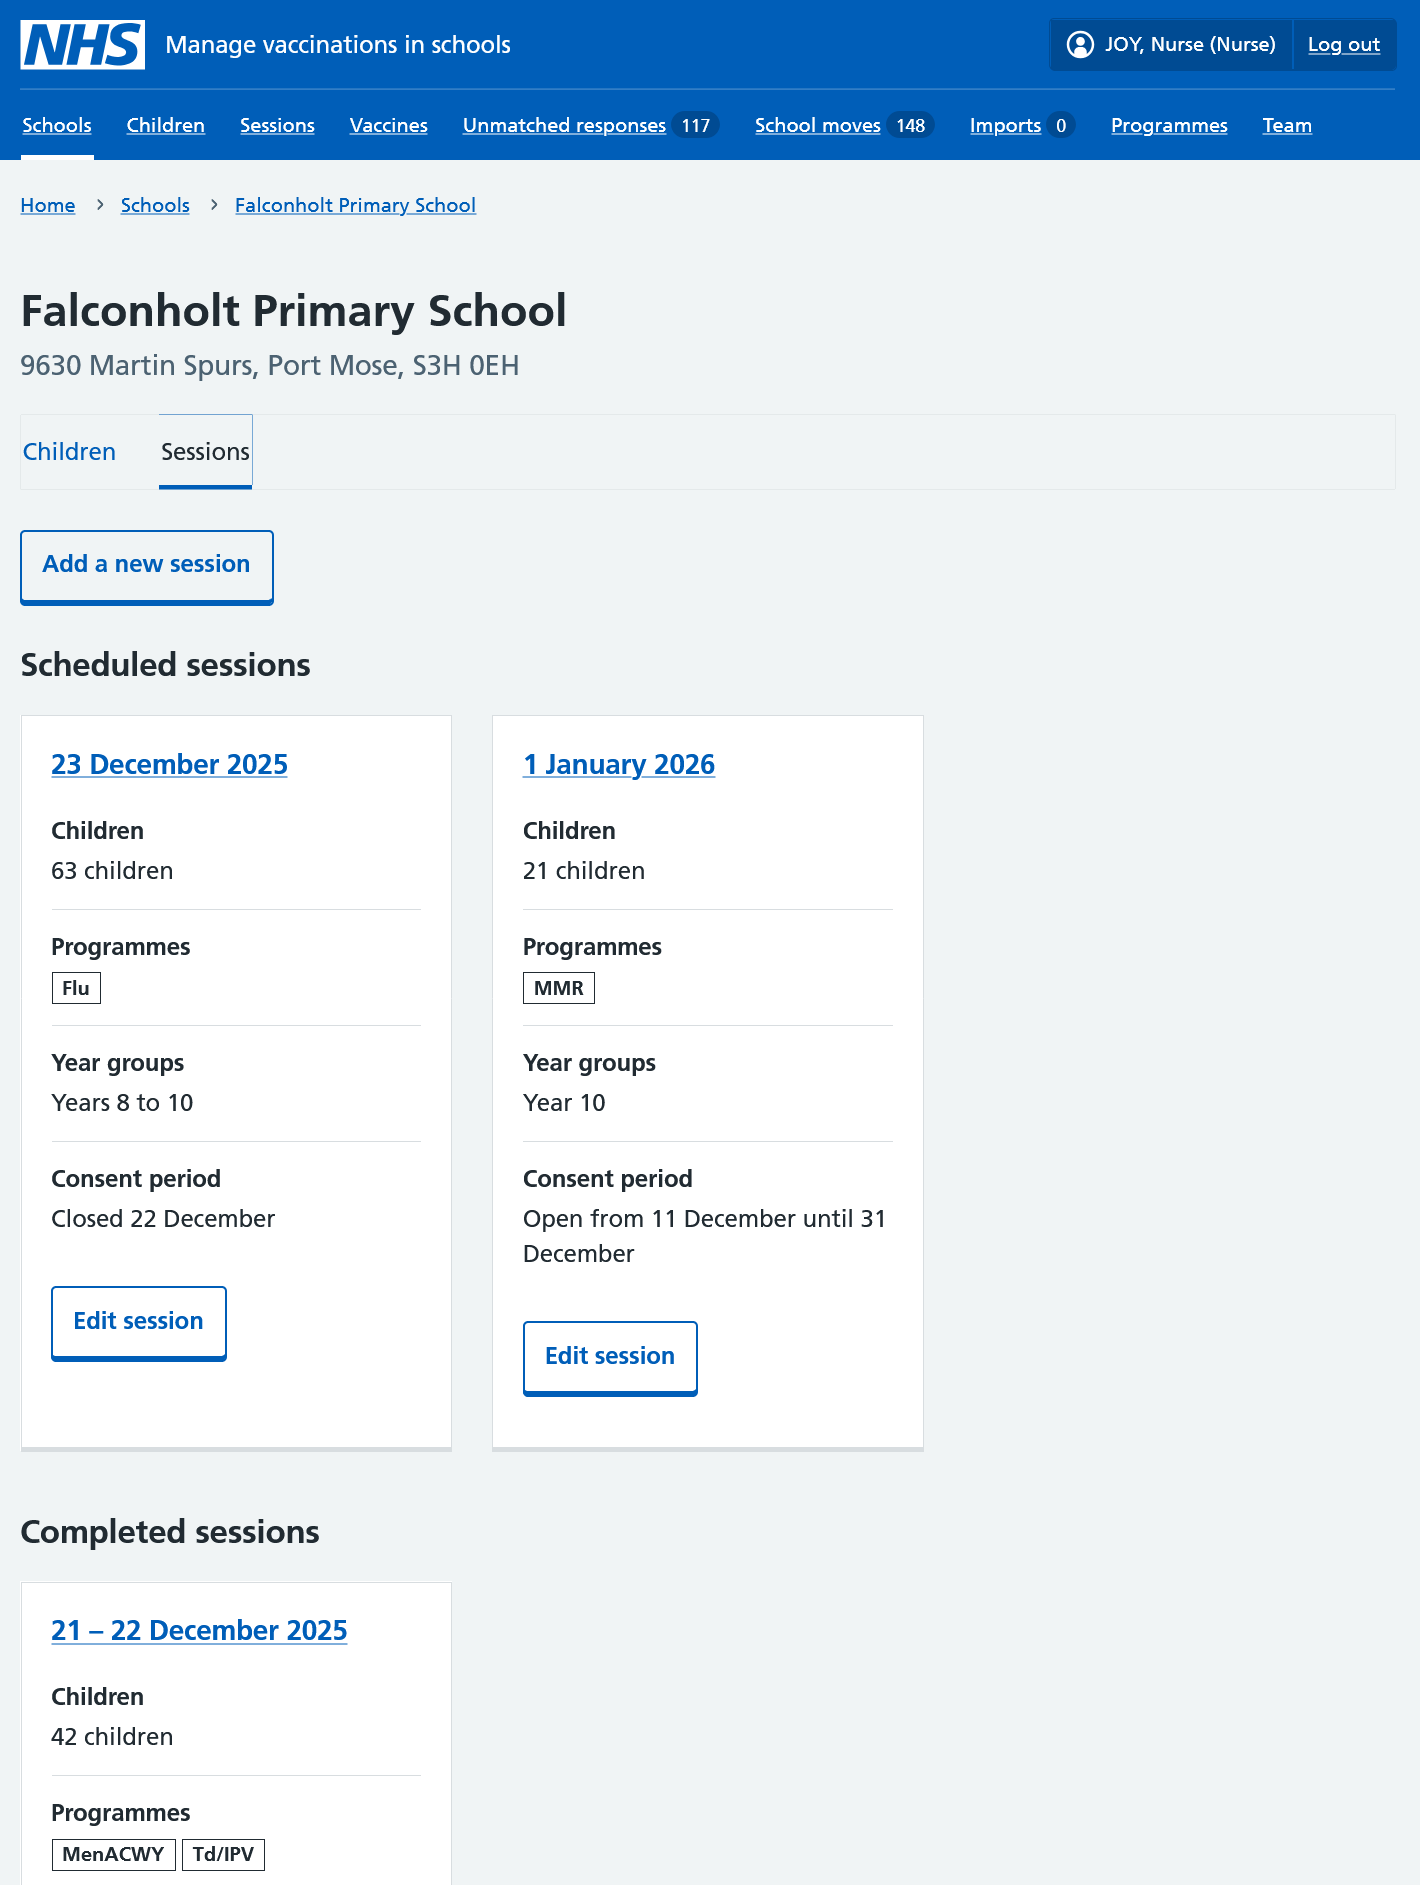
- Select Add a new session.
- Select the programmes you will run at the session then Continue.
- Enter the date the session will run (if known), then select Continue.
- Check the session details on the Check and confirm page and select Continue to save the session.
You can also create sessions through the Sessions area of Mavis.
- Go to Sessions.
- Select Add a new session near the top of the page.
- Find the school you want to create a session for and select Continue.
- Select the programmes and year groups for the session. Enter the session date (if known), then confirm the session details.
Mavis will automatically send consent requests and reminders from 3 weeks before the scheduled session date. You can change these dates by editing the session (see below).
Session dates
You can add more than one date for a session. If you do that, parents will get consent requests showing all dates.
If you leave the date fields blank, this will create an unscheduled session which you can add dates to later.
Editing sessions
You can edit sessions that have already been created in Mavis.
- Go to Sessions.
- Find the session you want to edit and select it.
- Select Edit session at the bottom of the session Overview tab. The session details will display.
- Select the Change link next to the detail you want to update.
- When you’ve finished editing the session, select Save changes.