Uploading cohorts
You should upload cohort records before you upload vaccination records or class lists.
When your team first starts using Mavis, you need to upload records for all children in your area.
This includes:
- all children from Reception (Year 0) to Year 11
- children in years 12, 13 and 14 at special education needs (SEN) schools, where relevant
You should include all children, whether they have already been vaccinated or not.
Once these records are in Mavis, they stay there.
At the start of each school year, upload records for children entering Reception (Year 0), to keep your cohort up to date.
You can also add new children to the cohort at any time by uploading records for individual or multiple children.
Before you start, read:
What details to include
You must include the following information for each child in the cohort:
- unique reference number (URN) for their school (use 888888 for school unknown, or 999999 for home-educated)
- first name
- last name
- date of birth
- postcode
For a full list of details you can upload, see the cohort upload template.
If you do not include a child’s NHS number, we’ll retrieve it from the Personal Demographics Service (PDS) - Mavis automatically searches PDS to find a match for the child, using the information you’ve provided (their date of birth must be correct for this to work).
How to upload a cohort file
- From the dashboard, go to Import records (or click on Imports in the top navigation).
- Select Upload records near the top of the page.
- Select Child records, then Continue.
- Select Choose File, then select the CSV file you want to upload.
- Select Continue and wait for the file to finish uploading.
Large cohort files can fail to upload, due to their size. If your CSV file has over 10,000 rows, we recommend you split it into smaller files - for example 2 files with 5,000 rows.
Checking the upload status
You can see whether your file was successfully uploaded by checking its status in the list of uploads.
Upload times can vary - refresh the screen to see the latest status.
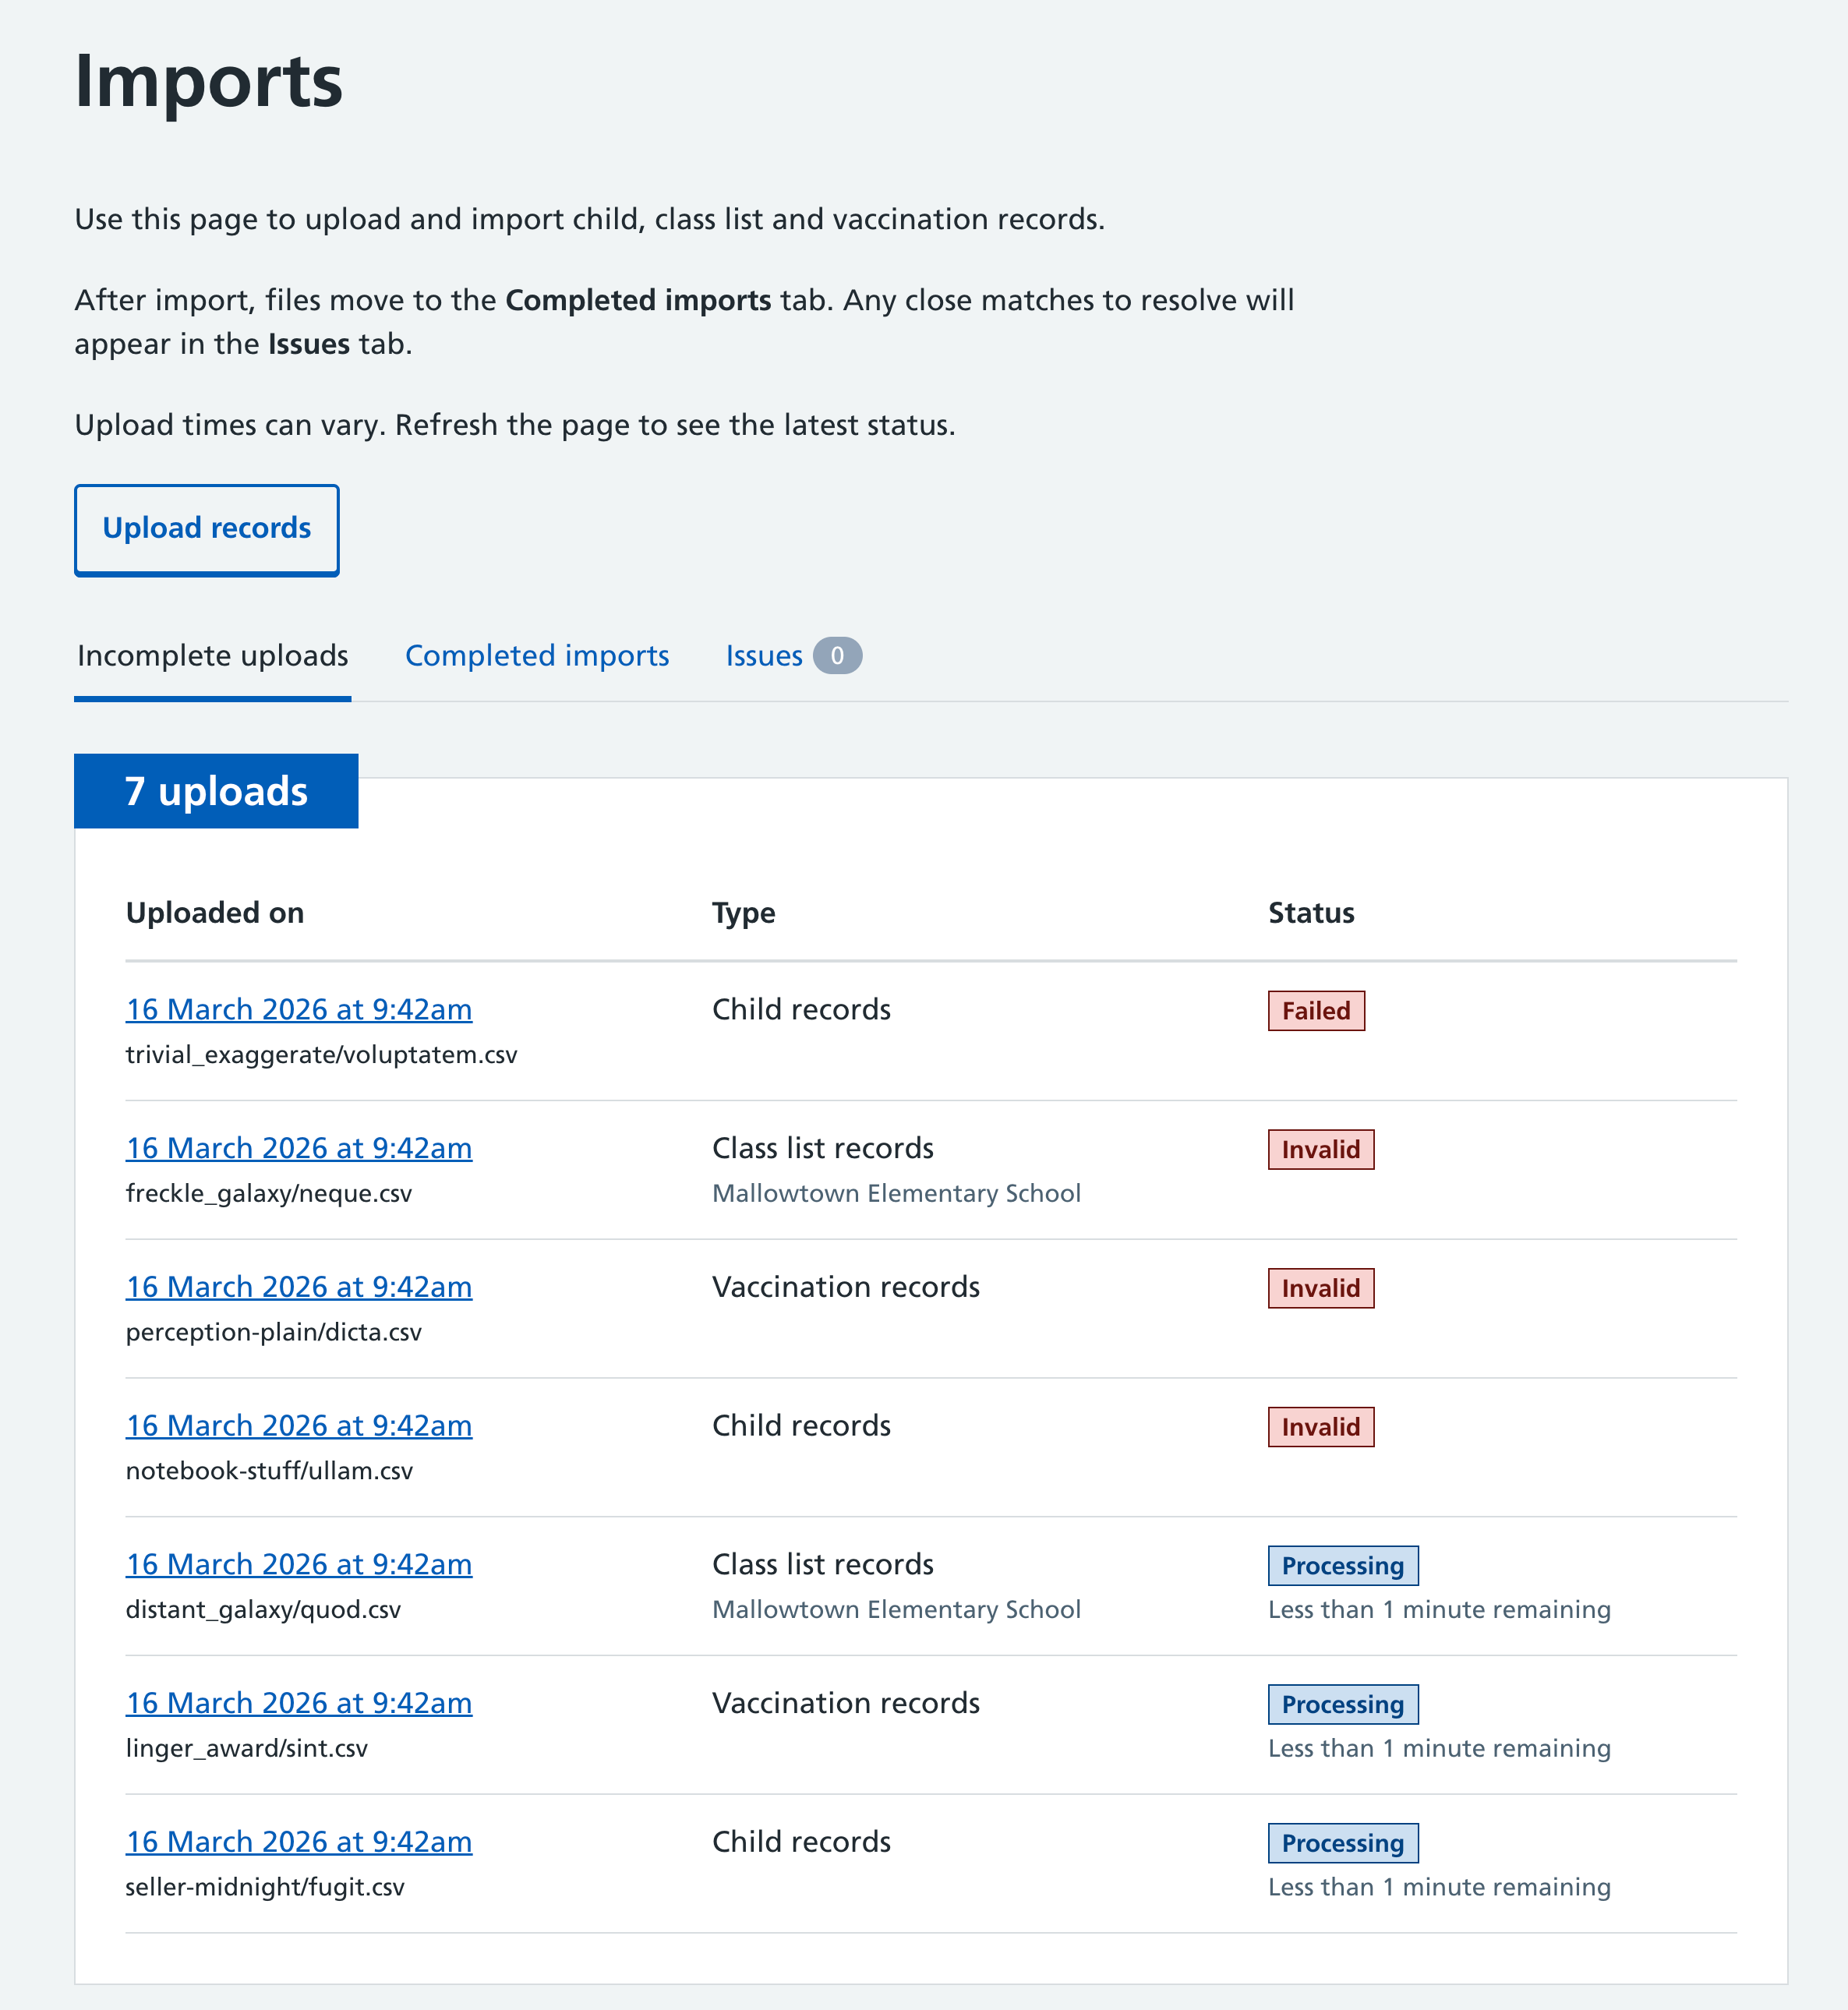
Upload errors
If there are validation issues, Mavis will not import the file. It will stay in the Incomplete imports list with its status marked as Invalid.
To view the validation issues, select the file upload’s date and time.
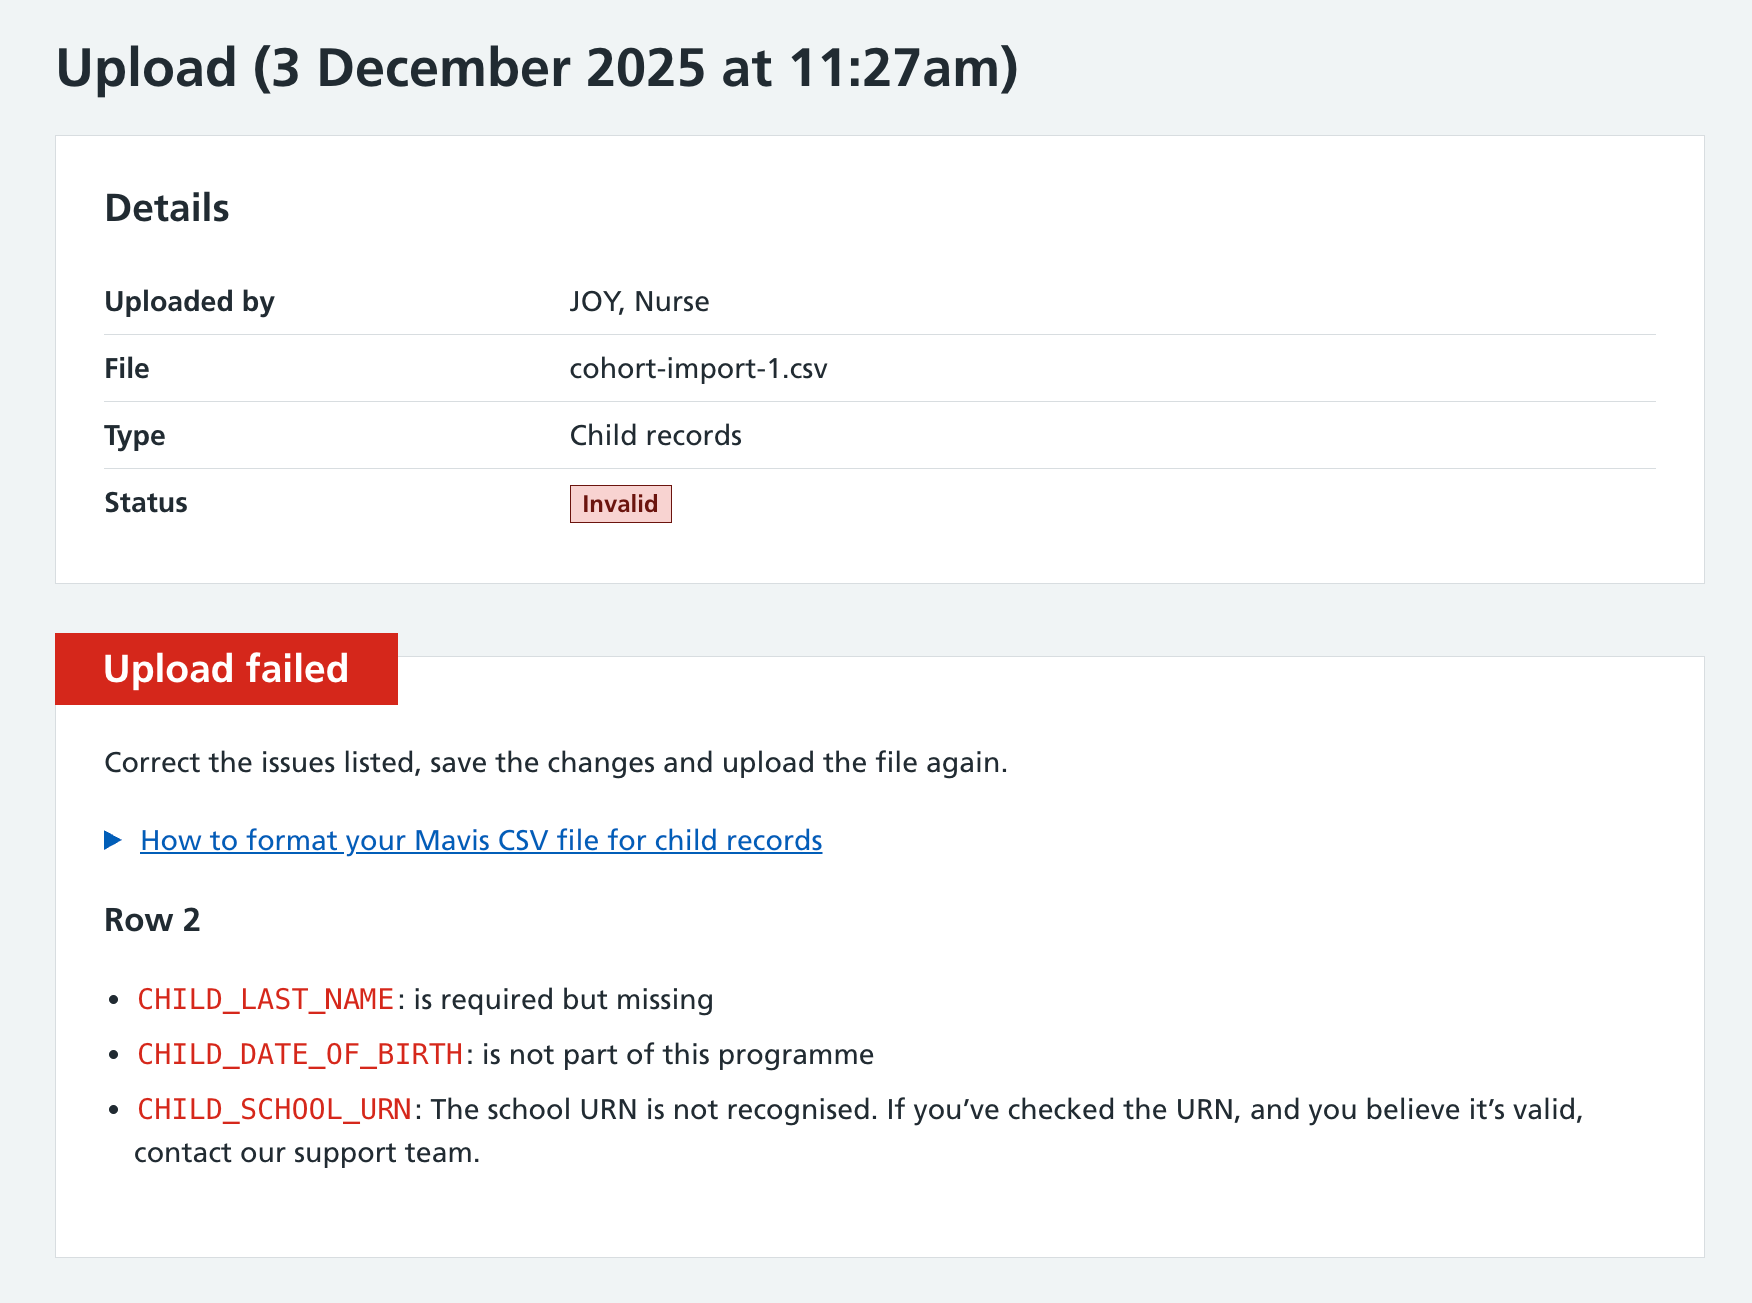
You should then:
- return to your CSV file and correct the issues listed
- save the changes and upload the file again
If less than 70% of records match an NHS number in PDS, the upload will be rejected, and you’ll see an error message. You should review the file, correcting any formatting issues (for example, make sure the first name and last name columns and the date of birth rows are in the correct position) and try uploading it again.
Reviewing and approving uploads
After the file has uploaded, you must review and approve it before the records are imported into Mavis.
Select the upload date and time to open the review page.

Records already in Mavis (no action needed)
When you upload child records, Mavis checks whether it already has a record for that child.
If a record is an exact duplicate, Mavis will simply not import it again. You’ll see a notification telling you how many records were not imported because they already exist in Mavis.
If the upload includes additional information about the child, such as their gender or preferred name, this information will be added to the existing record if you approve the upload.
Close matches to existing records (resolve after import)
If the upload includes close matches with existing child records, you’ll need to review them after you approve the upload.
Check the missing or conflicting details and decide which record to keep and which to archive. We explain how to do this below.
School moves (resolve after import)
If the upload includes children who already have a record in Mavis for a different school, Mavis flags this as a school move.
Mavis also flags when a child moves to a school in your area from a school outside your area.
If you approve the upload, you must confirm the child’s school in the School moves area of Mavis.
If you confirm that the child has moved to a school in your area from another team’s area, the original team will be notified.
Find out how to review and resolve school moves.
Children with no known school already registered at a school in a different area (no action needed)
If the upload includes children with no known school who are already registered at a school (or registered as home-educated) in another SAIS team’s area, Mavis will not import these records.
The records will remain with the other team and will not appear in your area.
If you upload the records again with updated school information, Mavis will import them as a school move if the school is in your area.
Approving the upload (and further reviews)
To approve the upload and import the records into Mavis, select Approve and import records.
Once a file upload has been approved and imported into Mavis, it will no longer be visible in the Incomplete uploads list. It will now be in the Completed imports list. You can find it by selecting the Completed imports tab.
In some cases, you will need to do a further review. This happens if one or more records have changed since you uploaded the file.
For example, another import may have been approved that includes some of the same records, or a child’s school or NHS number may have changed in Mavis.
Review the changed records and confirm whether you still want to import them.
Resolving close matches
Mavis highlights any potential duplicates as close matches to existing records, which you must resolve after import.
- On the Imports screen, select the Completed imports tab.
- Select the date and time of the upload to view its details.
- Under ‘Close matches to existing records - needs review’, select the upload issues link to see a list of close matches.
- Select Review for each record listed.
- Select which version of the record you want to keep then select Resolve duplicate.
You can also choose to keep both child records. For example, Mavis may identify twins as a close match. If this happens, select Keep both records.
If each record contains some correct information:
- Note any correct information from the record you are not keeping.
- Go to the record you are keeping and edit the information there.
You can view all unresolved close matches in the Issues tab on the Imports screen. This lists outstanding close matches from all uploads.
Handling out-of-year-group children
When children are taught outside their chronological year group, you need to record this in either the cohort upload or class list upload. If you do not do this, the child won’t be added to the correct cohort.
For example, for a child who would be educated in year 7 according to their birth date, but is in year 8 at school, you need to specify a value of 8 in the CHILD_YEAR_GROUP field in either the cohort upload file or class list upload file.
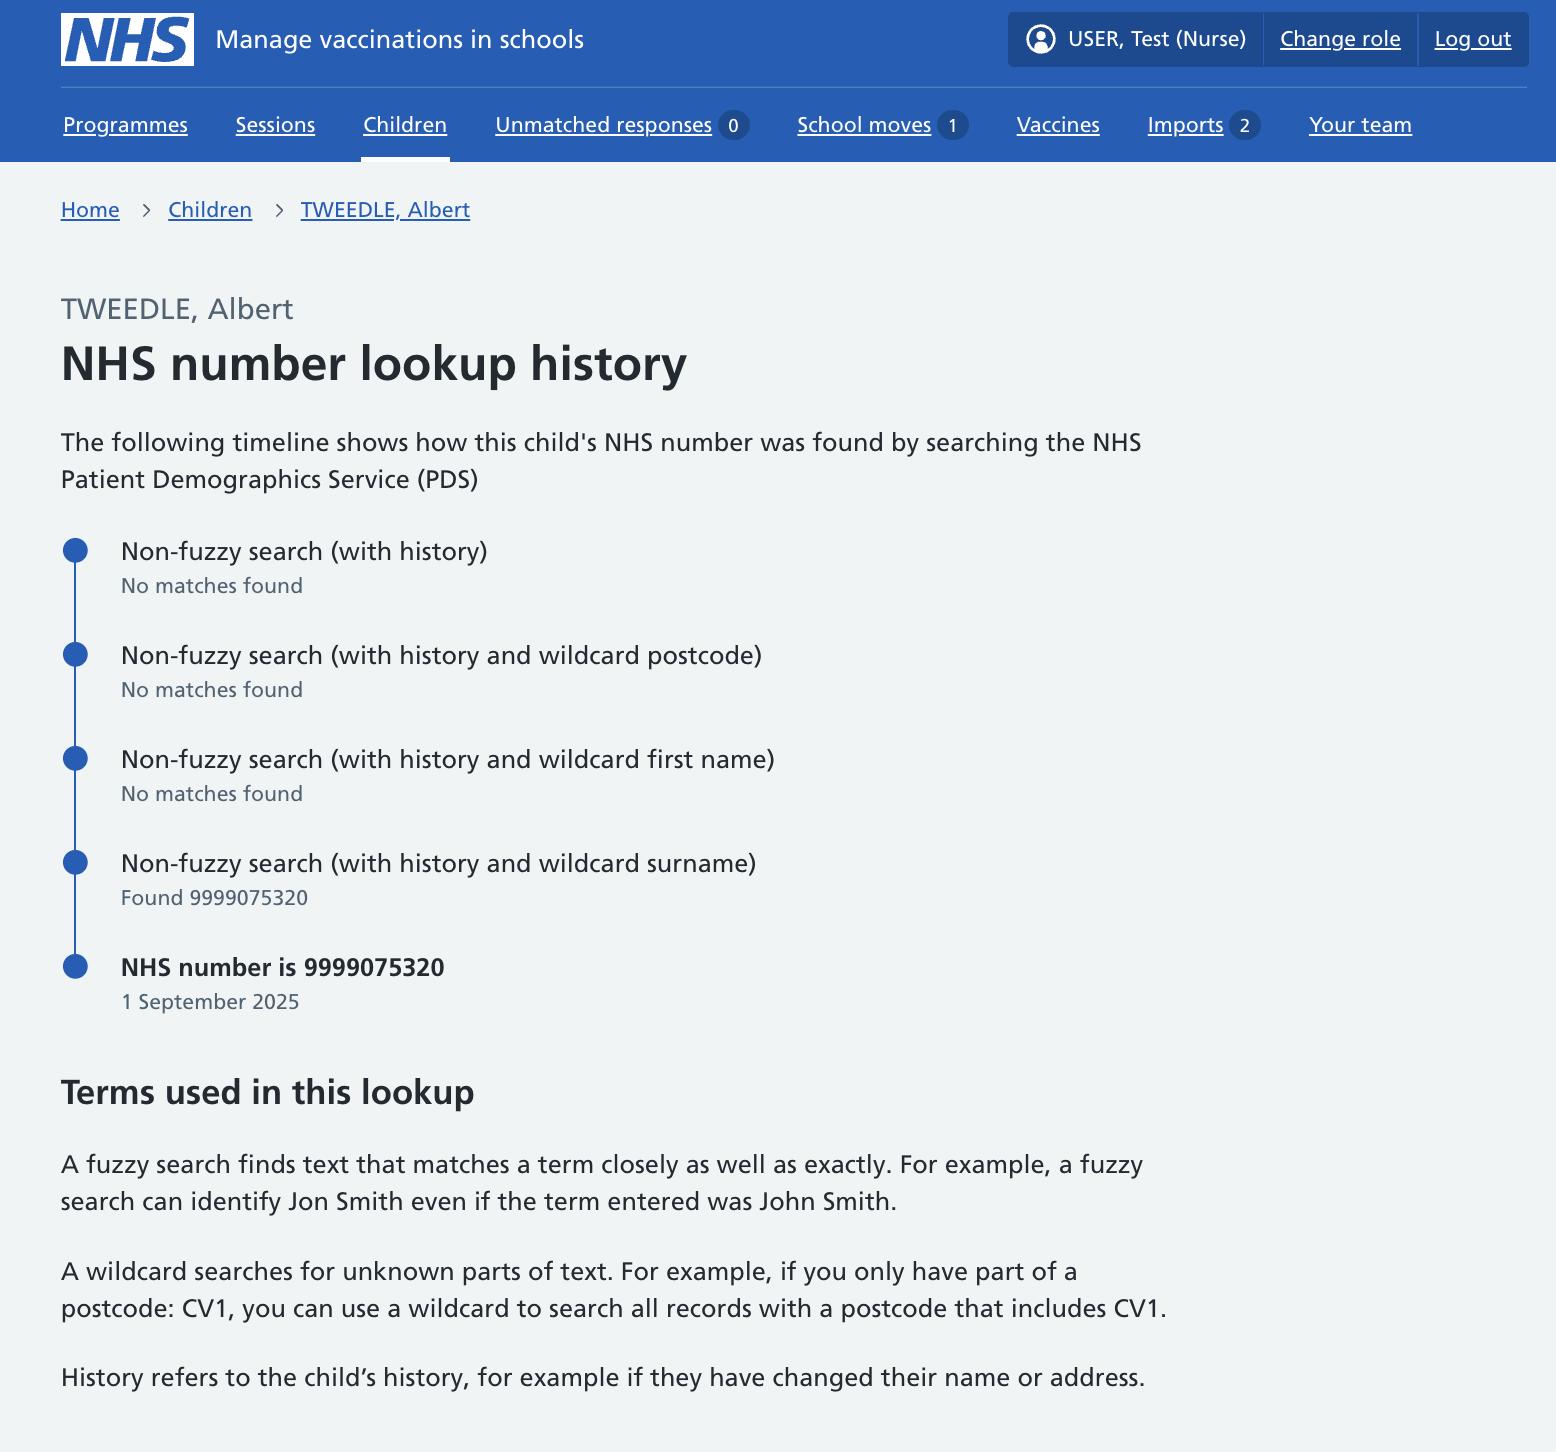
See how Mavis uses PDS to find NHS numbers
If the NHS number you provided for a child is different from the NHS number held by the NHS Patient Demographics Service (PDS) (sometimes referred to as ‘the Spine’), Mavis automatically replaces the incorrect NHS number on the child’s record with the correct one from PDS.
If this happens, a PDS history link appears beside the NHS number in the child’s record.
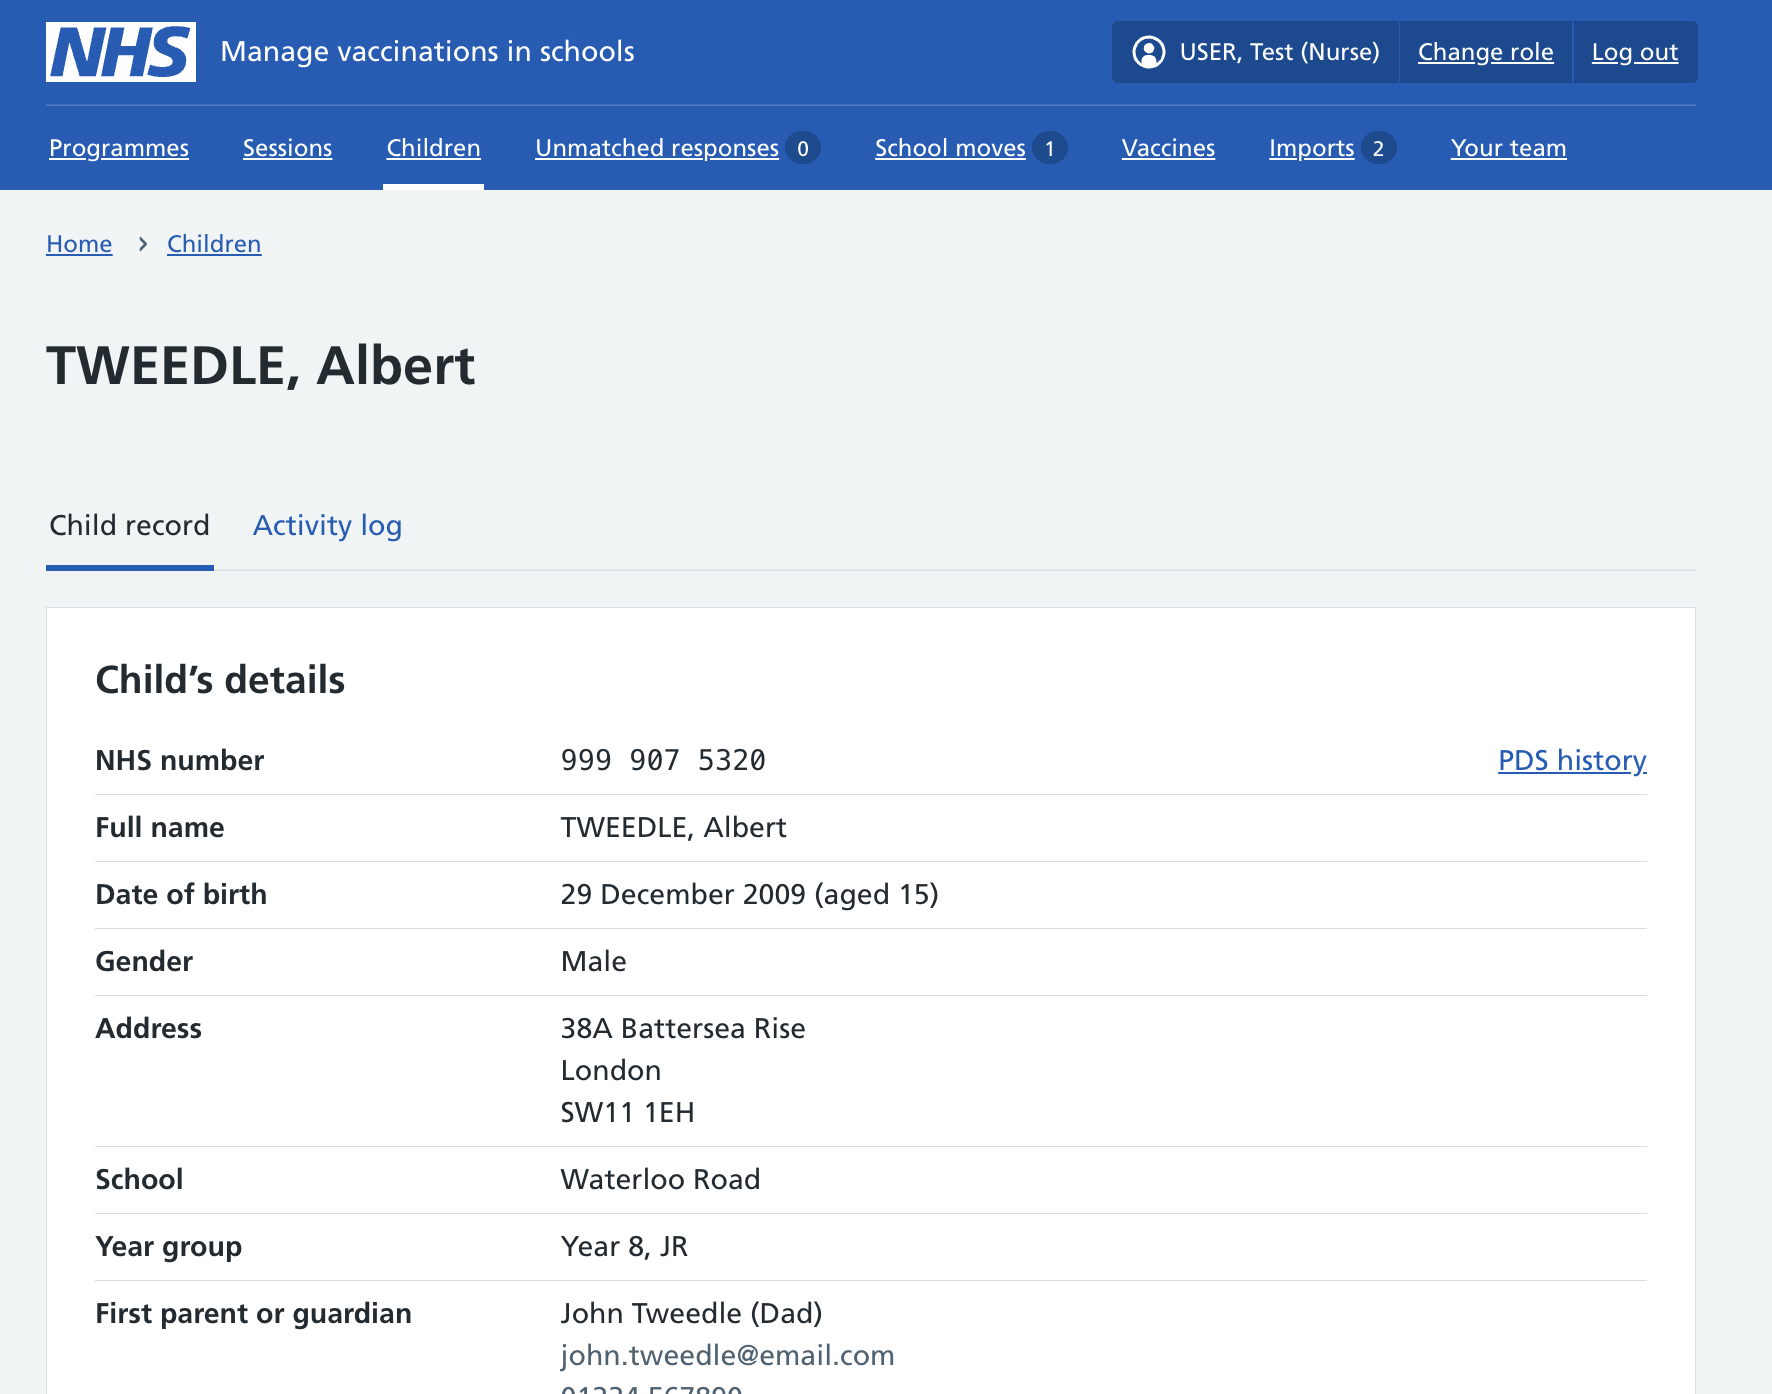
If there are any doubts or queries about the NHS number, you can see how Mavis found it by selecting the PDS history link.
The NHS number lookup history shows the different steps Mavis takes to search for the NHS number, and explains the search methods.